Origami is Japanese traditional craft art. Origami is now one of the well known Japanese words all over the world. A piece of paper changes its shape into animals, flowers, vehicles and toys. People are fascinated by the transformation. In this blog, I would like to introduce some interesting points about origami such as origami paper, samples of simple origami, paper crane and how to make a paper crane.
1. Origami paper
There are special papers made for origami. This origami paper can be bought in various sizes from 2.5cm to 35cm and more. These square pieces of origami paper generally are prepackaged. They can be in many different colors, usually with one side white and the other colored. They can also be bought with both sides colored (usually two different colors) and with designs and patterns on it.
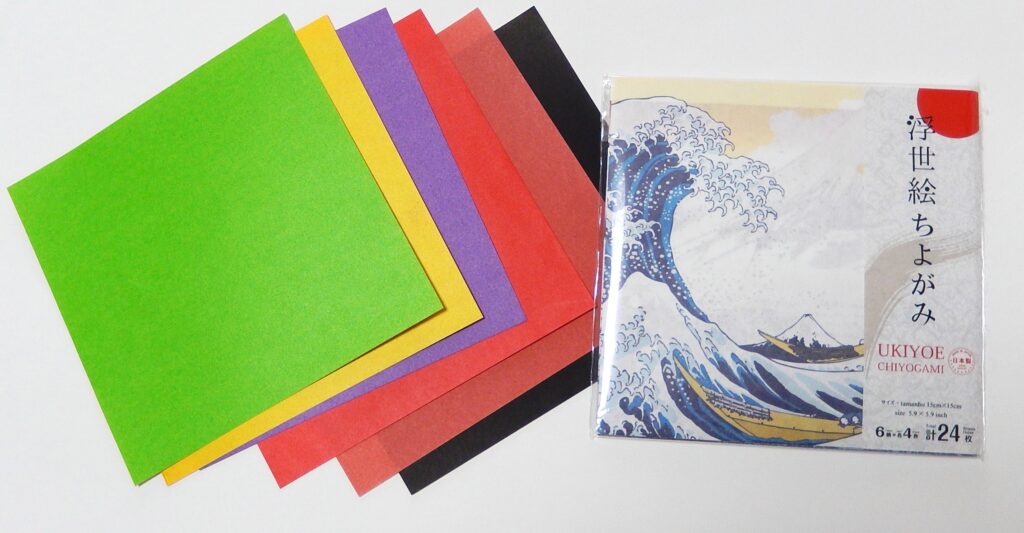
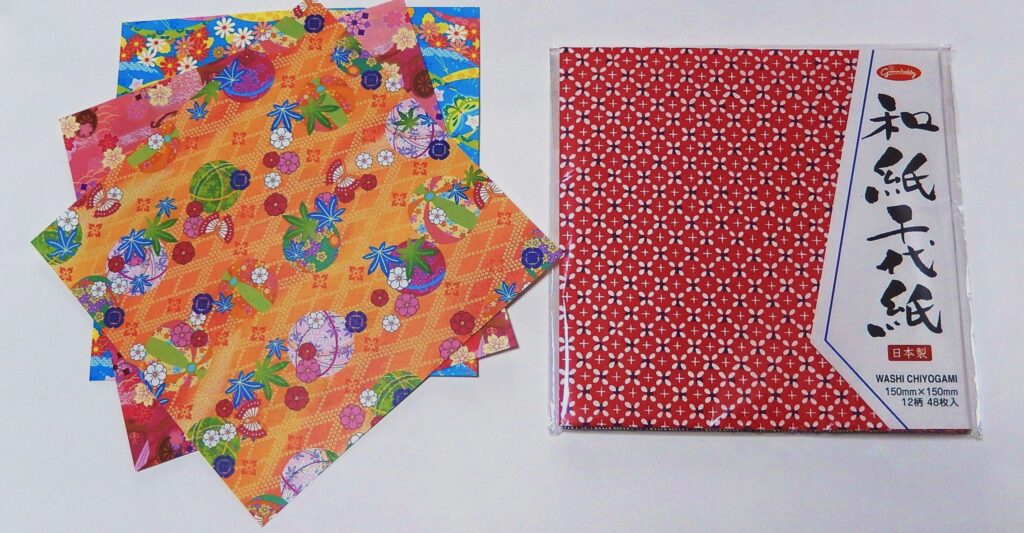
You can buy origami papers at a “one hundred yen shop” in Japan. It costs only 100 yen plus tax for a packaged origami paper like the above photos. Origami papers are beautiful, and some are designed using Japanese traditional art. So, it’s good to buy as souvenir for children.
2. Samples of simple origami
Kids usually learn how to make simple origami at kinder gardens and elementary schools, because it is educational and fun. The followings are simple origami which I made.

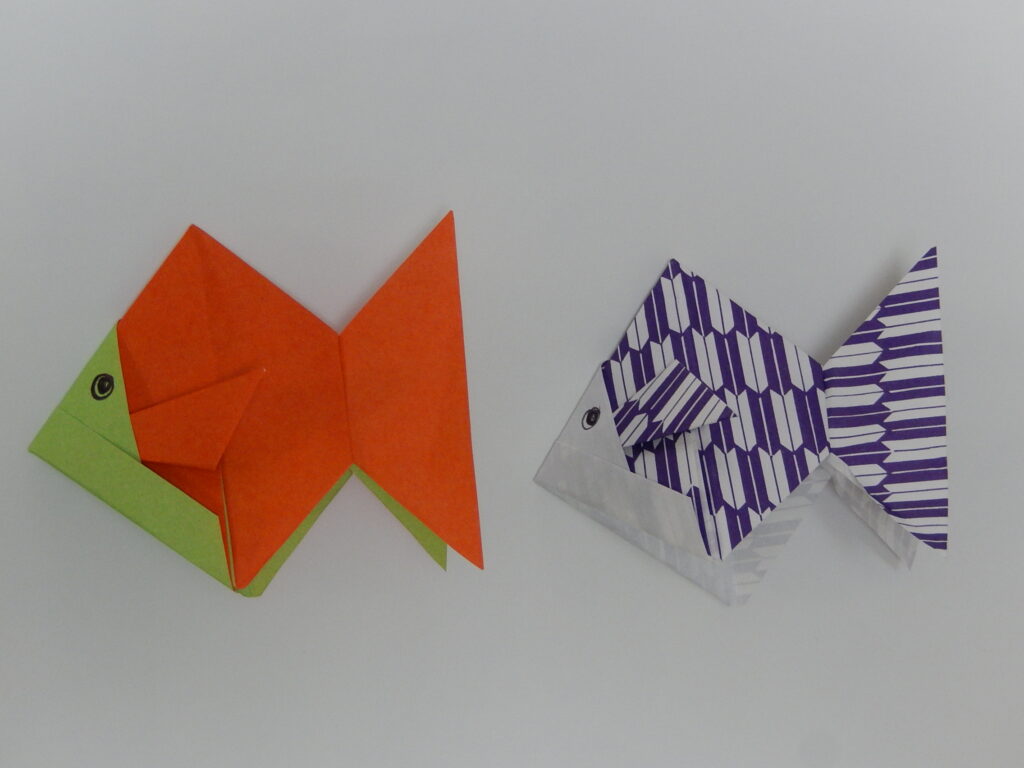
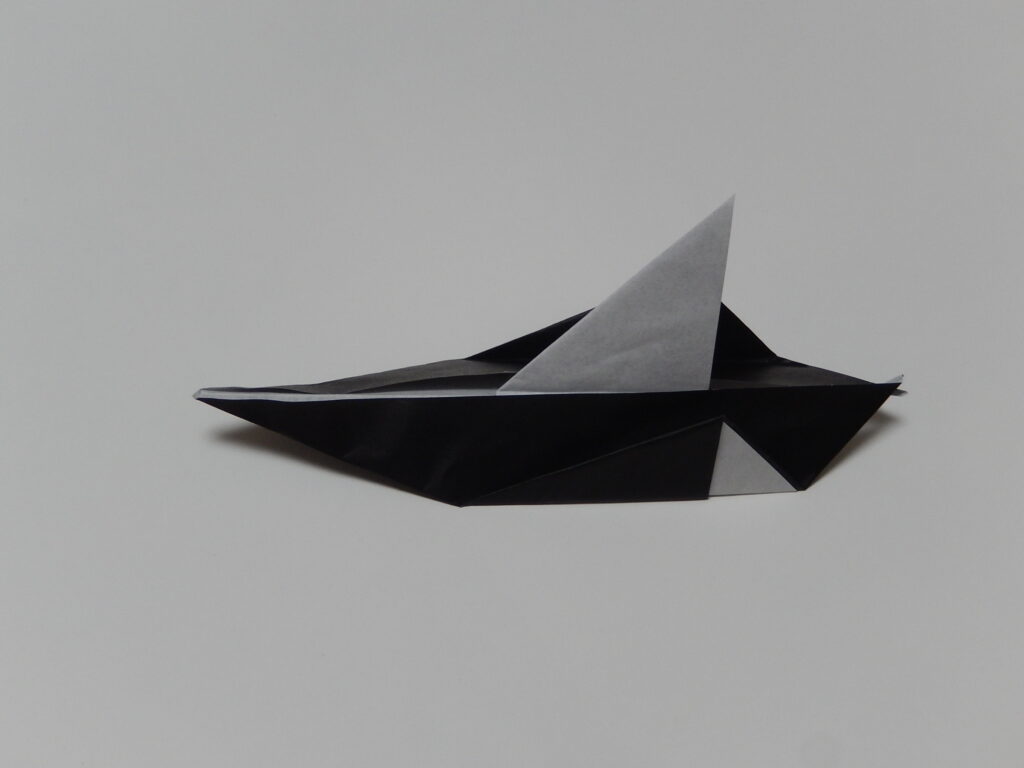
These are samurai helmets, goldfish and a boat. From a samurai helmet you can make a goldfish.
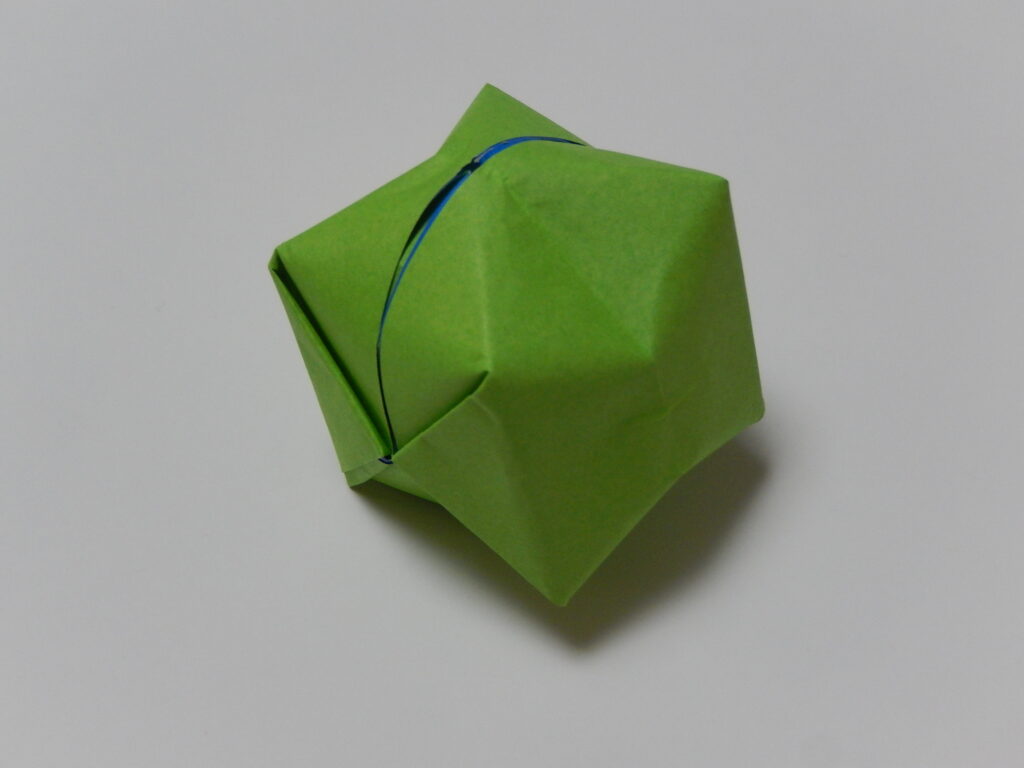
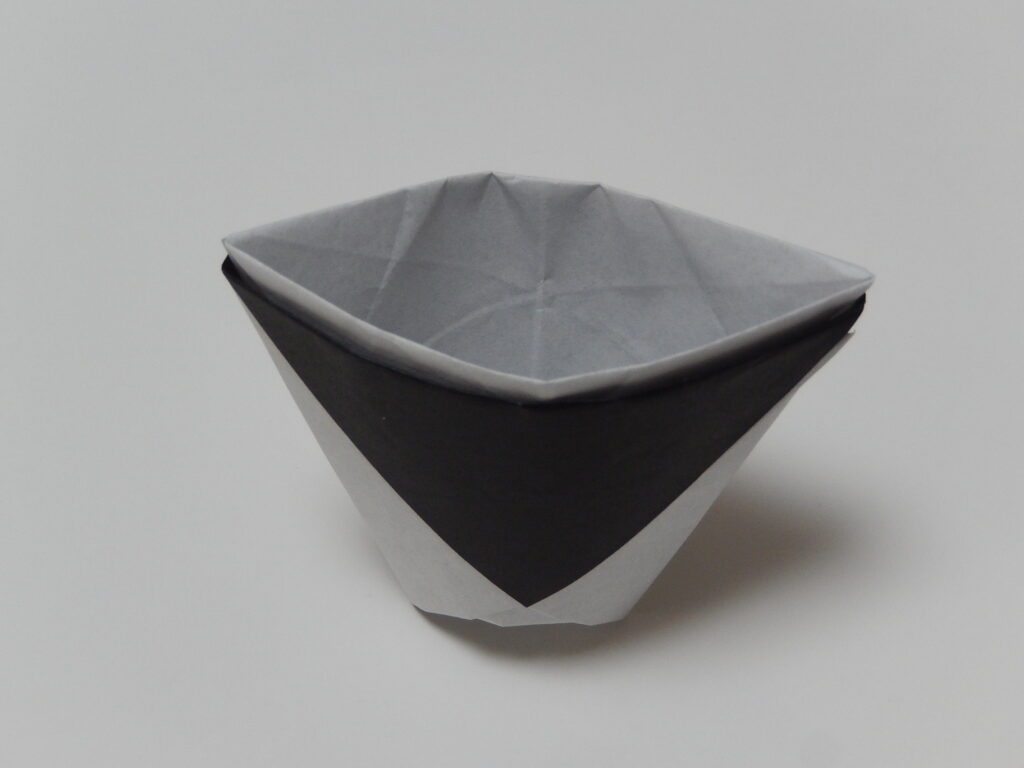
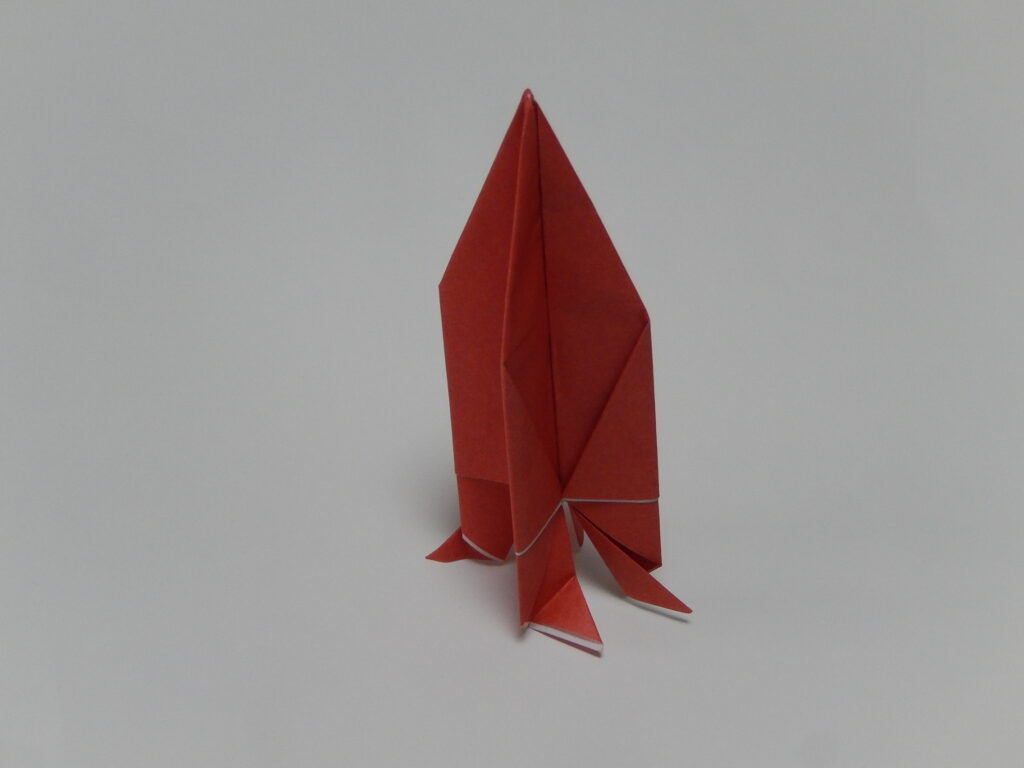
These are a balloon, a cup and a rocket. This origami cup is useful, because you can use it to drink water when you encounter a natural disaster for example and cannot find a cup.
3. How to make a paper crane
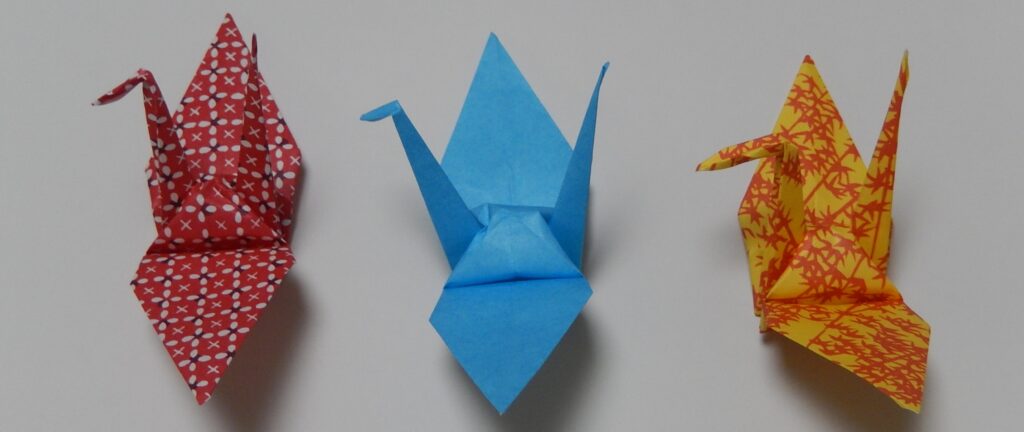
Follow the instructions below. It will take a several minutes to make a crane usually. For beginners probably it will take longer, but I think it possible and fun.
(STEP-1)


Fold in half to make a triangle.
Fold in half again.
Form a fold mark in half.
(STEP-2)


Put your fingers in and open up the flap and then flatten.
Repeat on the other side.
Both right and left corners will meet at the center.
Repeat on the other side.
(STEP-3)


Open the flaps and form a fold mark in upper part by making a little triangle.
Pull up the upper flap to make a diamond shape.
(STEP-4)


Repeat on the other side.
(STEP-5)
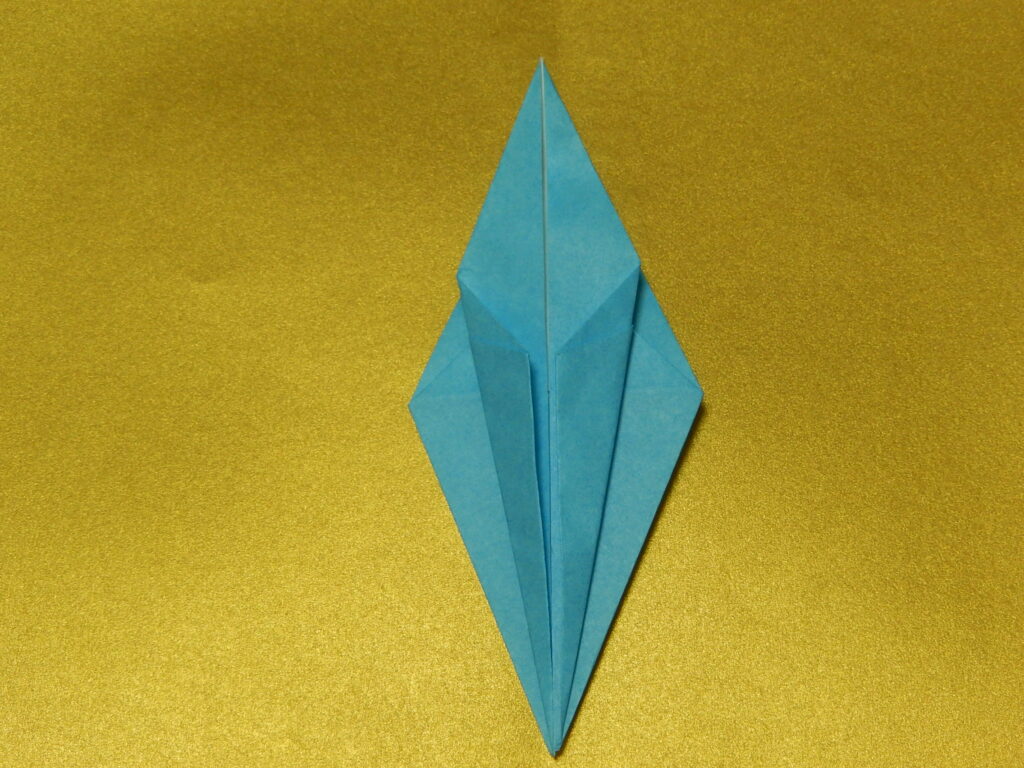

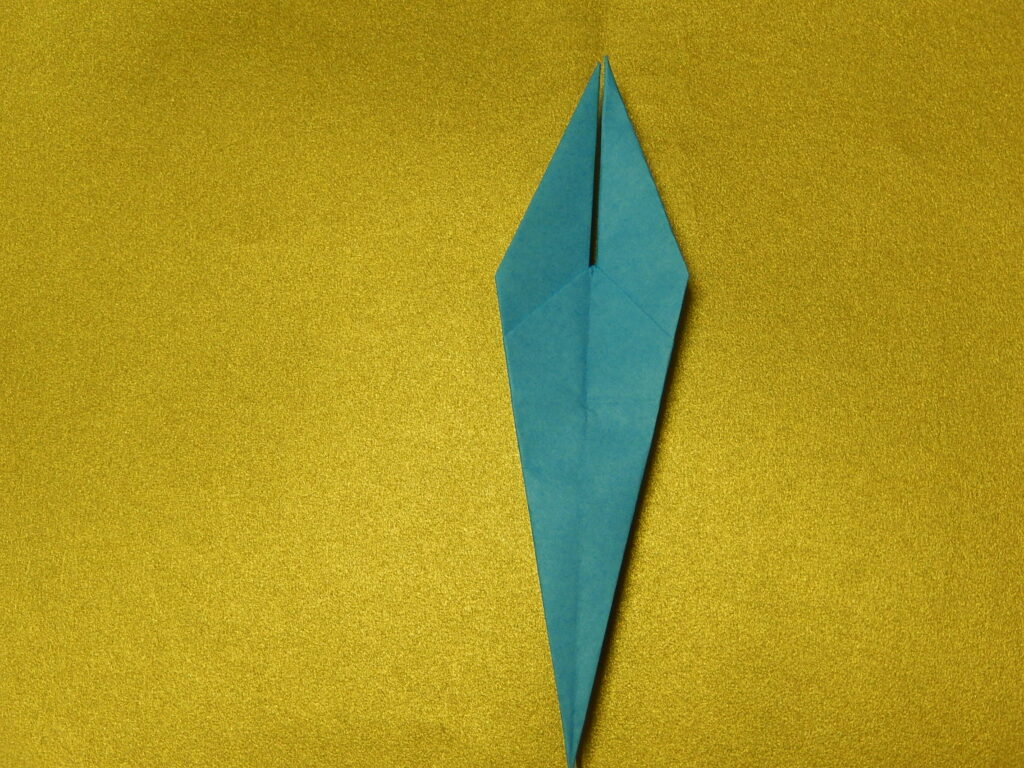
Fold in both corners narrowly.
Put your fingers inside the flaps and fold up.
This is the inside reverse fold.
(STEP-6)

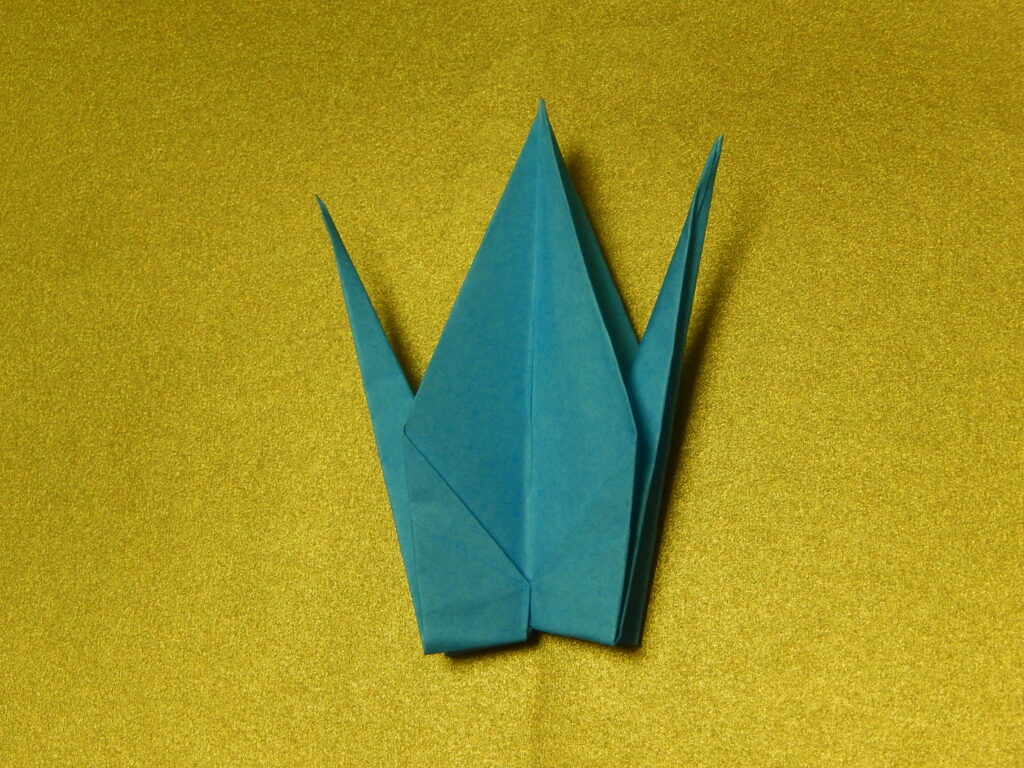

Use one side of the narrowed flaps and do the inside reverse fold to make the head.
Spread the wings nicely. (Finished)
4. Reference
(1) Origami for beginners: 50 easy and fun Japanese Paper-folding (Published by Shufunotomo-sha)
(2) All samples were made by the author.

Comment